Welcome to our comprehensive guide on shading techniques for coloring pages, where we’ll delve into the art of understanding and mastering shading with colored pencils. In this article, we will explore the unique characteristics of colored pencils that set them apart from regular pencils and provide essential tips for using them effectively. We will cover a range of shading techniques, including pressure shading, blending with contrasting colors, and utilizing solvents for seamless blending. Our expert advice and Q&A segment will address common queries and offer valuable insights. We’ll highlight common mistakes to avoid and share final tips and tricks for elevating your coloring projects. We invite you to join us in exploring reader feedback, success stories, related articles, and exclusive deals. Whether you’re a beginner or a seasoned artist, this article aims to equip you with the knowledge and inspiration to enhance your coloring endeavors.
Key Takeaways:
- Improve your coloring skills by understanding the unique qualities of colored pencils compared to regular pencils.
- Experiment with different shading techniques such as pressure shading, using contrasting colors, and blending with solvents and different materials.
- Avoid common mistakes and enhance your coloring pages with expert tips and tricks, reader feedback, and access to exclusive deals and resources.
Shading Techniques for Coloring Pages
Mastering shading techniques with colored pencils is a fundamental skill for artists of all levels. Whether you are a beginner looking to explore the world of coloring books or a professional artist seeking to enhance your artwork, understanding the nuances of shading can elevate your creations to new heights.
Shading is a pivotal aspect of artistry, as it adds depth, dimension, and realism to drawings and paintings, breathing life into the subjects portrayed. The interplay of light and shadow, achieved through various shading exercises, creates a sense of form and structure, making the artwork visually captivating. In an art studio, artists experiment with different shading techniques, such as hatching, cross-hatching, and blending, to achieve the desired textures and tones in their artwork. Ultimately, mastering shading gives the power to artists to convey emotions and tell compelling stories through their creations.
Understanding Shading with Colored Pencils
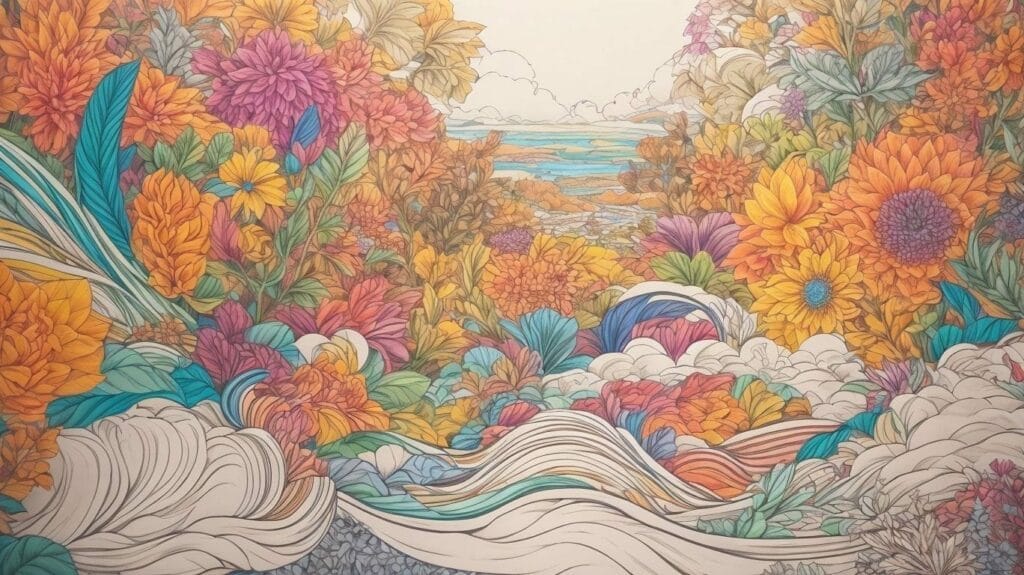
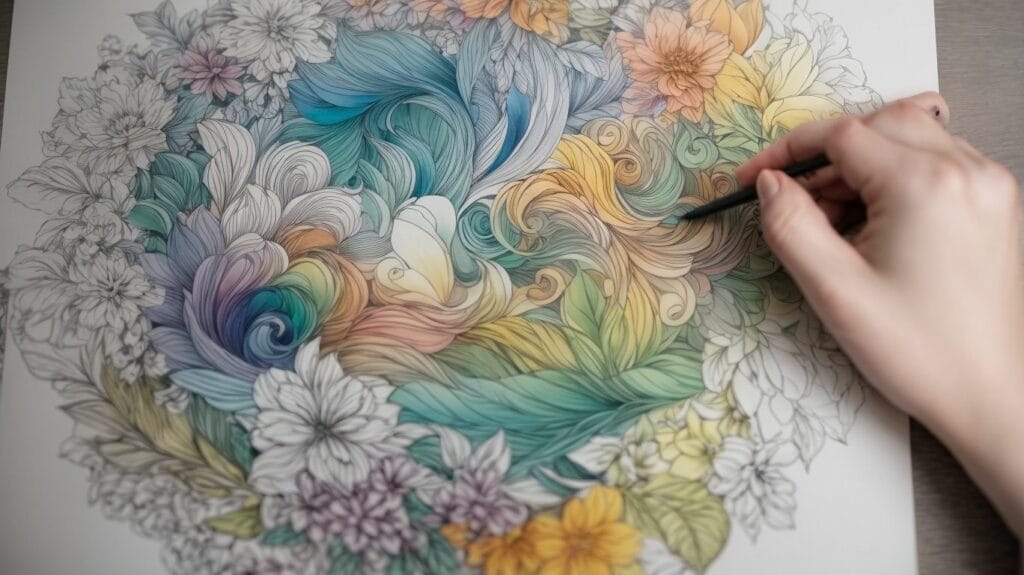
Credits: Loststorystudios.Com – Ronald Mitchell
Understanding shading with colored pencils involves grasping the principles of light and shadow to create depth and dimension within your artwork.
What Makes Colored Pencils Different From Regular Pencils?
Colored pencils differ from regular pencils due to their unique pigment composition, which allows for vibrant and varied color application in artwork.
Unlike traditional graphite pencils, colored pencils are formulated with a higher concentration of pigments, offering a broader spectrum of hues and tones. This diverse range of colors allows for intricate and detailed work, as well as the freedom to explore a wide array of artistic expressions.
Artists can achieve rich, intense color saturation with colored pencils, allowing for layering, blending, and mixing to create a multitude of gradients and textures. These pencils are also versatile, suitable for both bold, opaque strokes and delicate, translucent layers, enabling artists to experiment with shading and highlighting techniques to enhance their creations.
Basic Tips When Using Colored Pencils
When utilizing colored pencils for shading, it is essential to control pressure, layer colors strategically, and employ various blending techniques to achieve desired effects.
To control pressure effectively, start with light strokes and gradually increase the pressure to build up the intensity. Color layering involves adding multiple layers of different colors to create depth and richness. Remember to work from light to dark tones, applying gentle pressure to avoid wax bloom or color saturation. Experiment with blending techniques such as using a colorless blender pencil or blending with solvents for seamless transitions between hues. Avoid pressing too hard, which can cause the pencil to leave indents or break the paper fibers.
Mastering Different Shading Techniques
Mastering different shading techniques with colored pencils opens up a world of possibilities for creating depth, texture, and realism in your artwork.
Pressure Shading
Pressure shading with colored pencils involves exerting variable pressure to create gradations of color intensity and tone in your artwork.
This technique allows you to achieve smooth transitions and tonal effects, adding depth and dimension to your drawings. By adjusting the pressure applied to the pencil, you can control the amount of pigment deposited on the paper, resulting in a range of light to dark values.
Layering colors with varied pressure further enhances the richness and complexity of your shading, enabling you to render realistic textures and forms.
Shading with Two Contrasting Colors
Shading with two contrasting colors involves layering and blending hues to achieve dynamic and visually compelling effects in your colored pencil artwork.
Layering contrasting colors adds depth and dimension to your artwork. For example, consider using a combination of dark blue and light yellow to create a vibrant landscape. Begin by laying down the darker color as the base, then gradually overlay the lighter shade to blend and create a smooth transition. This technique can also be applied to create highlights and shadows, enhancing the realism of your illustrations.
Utilizing two contrasting colors can bring out unique textures and patterns. For instance, experimenting with red and green to depict the rich, intricate details of a floral arrangement can produce striking and realistic results. The key lies in gradual blending and layering to ensure a seamless fusion of colors and a visually captivating outcome.
Enhancing Images with Darker Colors
Enhancing images with darker colors through shading involves strategic layering and blending techniques to add depth and richness to your colored pencil artwork.
Layered shading techniques are an effective way to create dimensional and realistic effects in your artwork. By building up layers of darker colors, you can achieve a sense of depth and volume. It’s essential to start with a good understanding of your light source and how it interacts with the objects in your composition. This will guide your approach to shading and help you create a convincing effect.
Blending is another crucial aspect of enhancing images with darker colors. Smooth transitions between different shades are essential for a polished and professional look. Utilize blending tools such as blending stumps or tortillons to seamlessly merge the layers of color, ensuring a cohesive and well-integrated result.
Using Solvents for Blending
Utilizing solvents for blending colored pencils allows for seamless color transitions and soft, painterly effects in your shaded artwork.
When using solvents, it’s essential to choose the right type based on the paper and colored pencils you’re working with. Odorless mineral spirits or rubbing alcohol are popular choices, providing excellent blending without damaging the paper. Gamsol, a specialized odorless mineral spirit, is particularly well-regarded for its efficacy in blending colored pencils.
The technique involves applying the solvent with a brush or cotton swab over the colored pencil areas. The solvent breaks down the wax or oil in the pencils, smoothing and blending the colors. It creates a rich, velvety texture, intensifying the color saturation and enhancing the depth of shadows and highlights.
Blending with Dry and Wet Materials
Blending colored pencils with both dry and wet materials, such as watercolor brush pens and colorless blenders, offers diverse opportunities for creating unique shading effects.
When using dry materials for blending, consider employing a colorless blender or a specialized blending pencil to blend and soften transitions between different hues seamlessly. Incorporating a wet medium like watercolor brush pens or a lightly dampened brush can offer a new dimension to your colored pencil work, creating fluid and vibrant washes of color that can be layered or combined with the dry pencil strokes to achieve captivating results.
By experimenting with both techniques, artists can expand their creative toolkit and achieve a diverse range of artistic expression.
Experimenting with Paper for Different Effects
Experimenting with various types of paper can yield different results and textures when applying shading techniques with colored pencils.
For artists, understanding the impact of paper selection is crucial to achieving desired shading effects and textures. Using rough-textured paper can create a grainy and stippled appearance, adding depth to the artwork. In contrast, smooth papers lend themselves to creating more even and blended color transitions, perfect for creating soft gradients in the artwork.
Textured papers, such as watercolor paper or mixed media paper, enhance the tactile quality of the artwork, adding an extra dimension to the finished piece. The choice of paper also affects the level of detail that can be achieved with colored pencils, making it essential to consider the desired outcome before starting a project.
Expert Advice and Q&A
Gain valuable insights and expert advice on shading techniques with colored pencils from professional artist Rebecca Schweiger, founder of Art Studio NY and a renowned figure in the world of artwork.
Common Mistakes to Avoid
Identify and learn to avoid common mistakes that beginners often make when practicing shading techniques with colored pencils, ensuring a smoother and more rewarding artistic journey.
Final Tips and Tricks
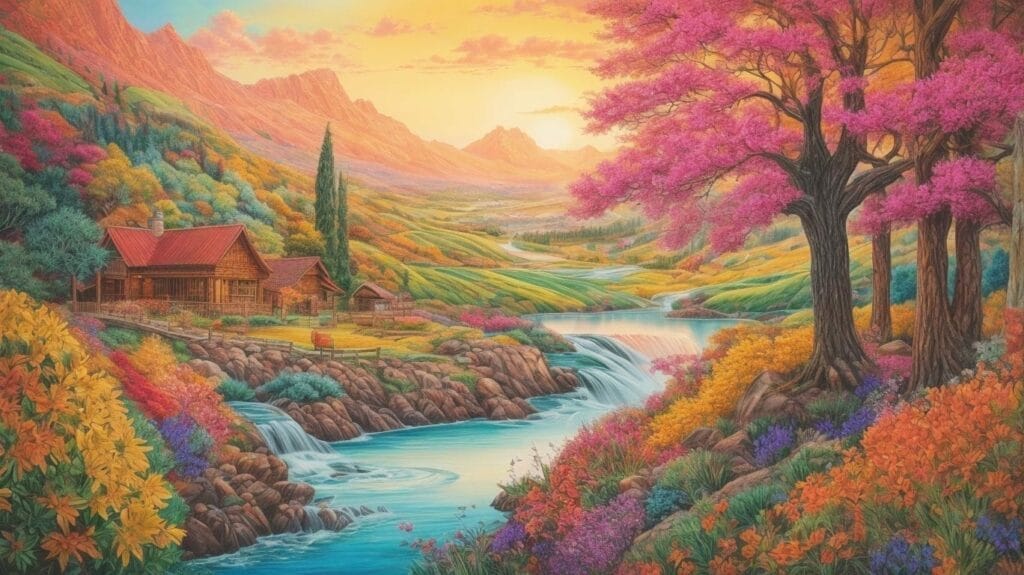
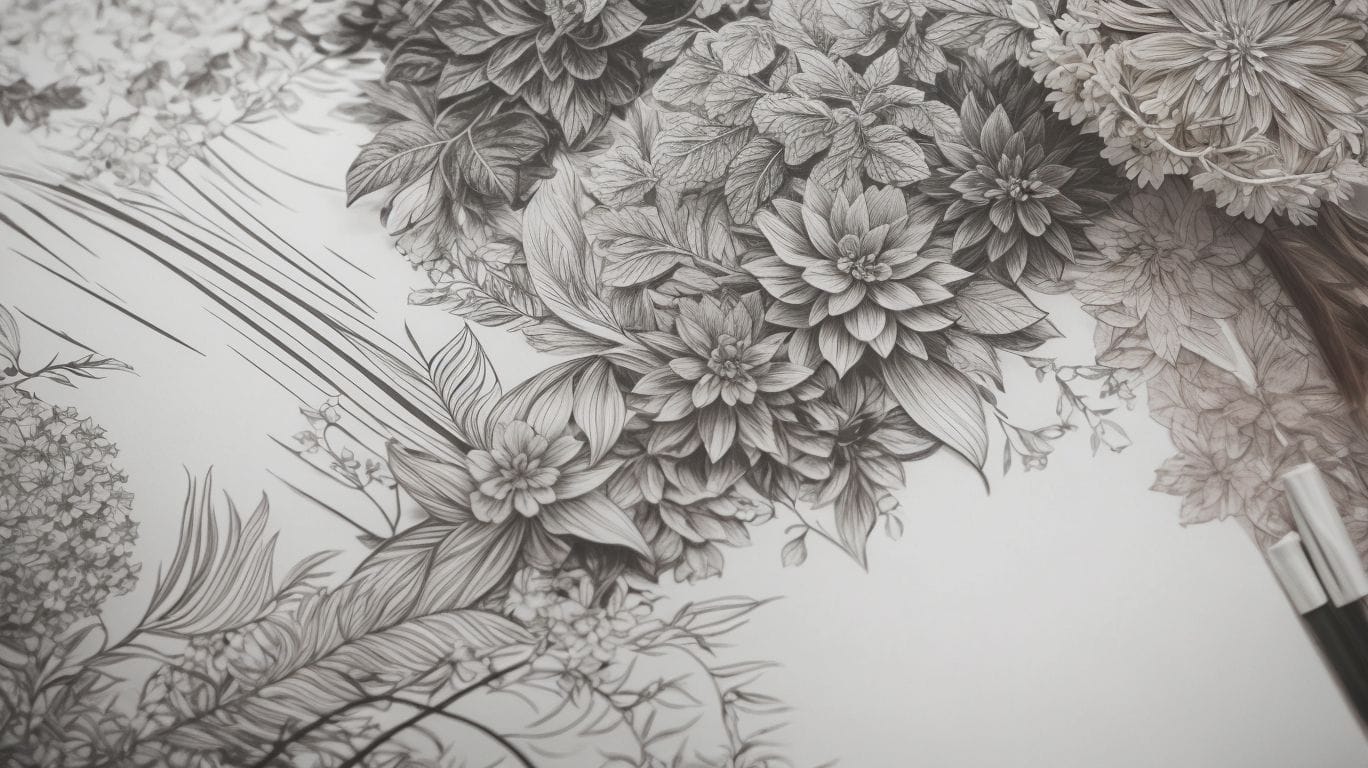
Credits: Loststorystudios.Com – Dylan Ramirez
Discover final tips and tricks to refine your shading techniques with colored pencils, enhancing the overall impact and quality of your artwork.
Reader Feedback and Success Stories
Explore inspiring reader feedback and success stories related to mastering shading techniques with colored pencils, highlighting the transformative impact on artistic endeavors.
Related Articles and Resources
Access a wealth of related articles and resources that delve deeper into colored pencils, shading techniques, art classes, and valuable insights for enhancing your artistic exploration.
Get Exclusive Deals and News
Stay informed and take advantage of exclusive deals and news related to colored pencils, art supplies, art classes, and specialized tutorials for refining your shading techniques.
Contact Us for Further Assistance
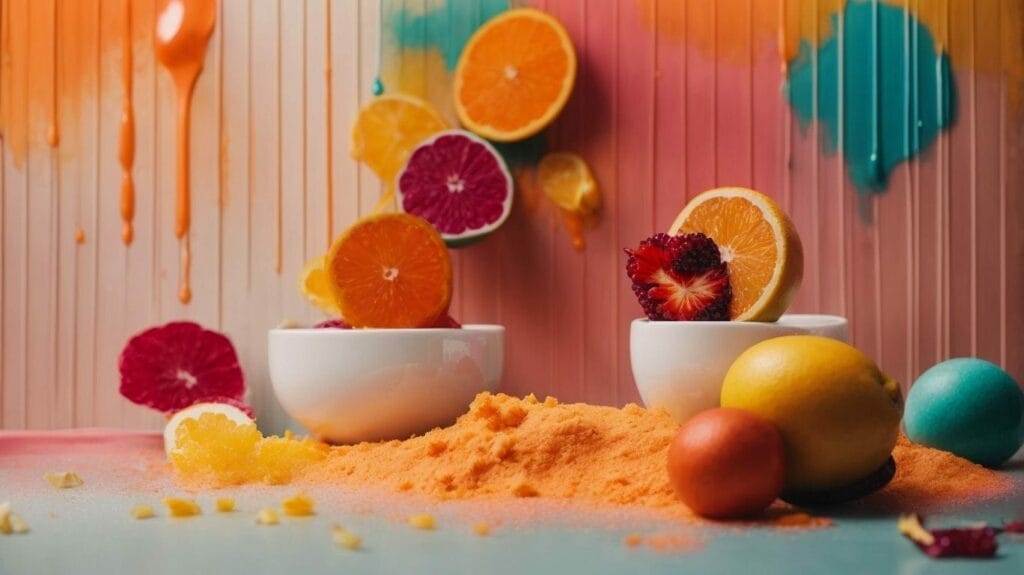
Credits: Loststorystudios.Com – John Rodriguez
Reach out to us for further assistance, guidance, and inquiries regarding colored pencils, shading techniques, and elevating your artwork to new creative heights.
Frequently Asked Questions
What are shading techniques for coloring pages?
Shading techniques for coloring pages refer to various methods that can be used to add dimension, depth, and realism to a coloring page. This involves using different shades and tones of colors to create the illusion of light and shadow on the page.
Why is it important to use shading techniques on coloring pages?
Shading techniques can make a coloring page look more realistic and visually appealing. It can also help to create a sense of depth and make the image stand out. Without proper shading, a coloring page may appear flat and two-dimensional.
What are some common shading techniques used on coloring pages?
Some common shading techniques used on coloring pages include hatching, cross-hatching, blending, stippling, and smudging. Each technique creates a different effect and can be used to achieve different styles and looks.
How can I learn and improve my shading techniques for coloring pages?
Practice is key when it comes to improving your shading techniques for coloring pages. You can also watch tutorials, study the work of other artists, and experiment with different techniques to find what works best for you.
Are there any tools or materials that can help with shading on coloring pages?
Yes, various tools and materials can aid in shading on coloring pages. These include colored pencils, markers, pastels, and blending tools such as blending stumps or tortillons. Different tools may work better for different techniques and effects.
Can shading techniques be used on all types of coloring pages?
Yes, shading techniques can be used on any type of coloring page, whether it’s a simple cartoon or a complex mandala. The key is to understand the light source and how it affects the objects in the image, and then apply shading accordingly.