Coloring backgrounds in art can add depth, dimension, and visual interest to your artwork. Whether using traditional mediums like watercolor, acrylic, or colored pencils or working digitally, mastering the techniques for coloring backgrounds can greatly enhance your artistic creations. This article will provide tips, techniques, and step-by-step tutorials to help you excel in coloring backgrounds. We will discuss aspects such as choosing the right colors, layering and blending techniques, creating texture and patterns, and troubleshooting common issues. We will explore ways to take your background coloring skills to the next level, including experimenting with different art styles, incorporating backgrounds into your projects, and seeking inspiration from other artists. So, let’s dive into the world of coloring backgrounds and unleash your artistic potential.
Key Takeaways:
- Choosing the right colors: A crucial aspect of coloring backgrounds is selecting appropriate colors to create the intended mood and atmosphere.
- Layering and blending colors: To add depth and visual interest, layering and blending different colors can enhance the overall appearance of backgrounds.
- Creating texture and patterns: Incorporating texture and patterns on backgrounds can provide a unique and captivating element to your artwork, making it visually appealing.
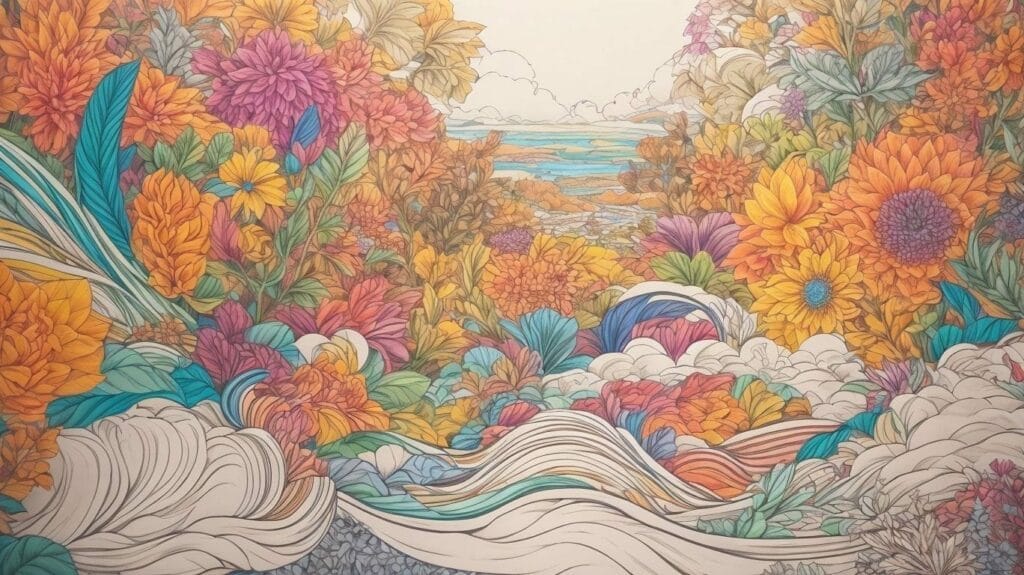
Tips and Techniques for Coloring Backgrounds
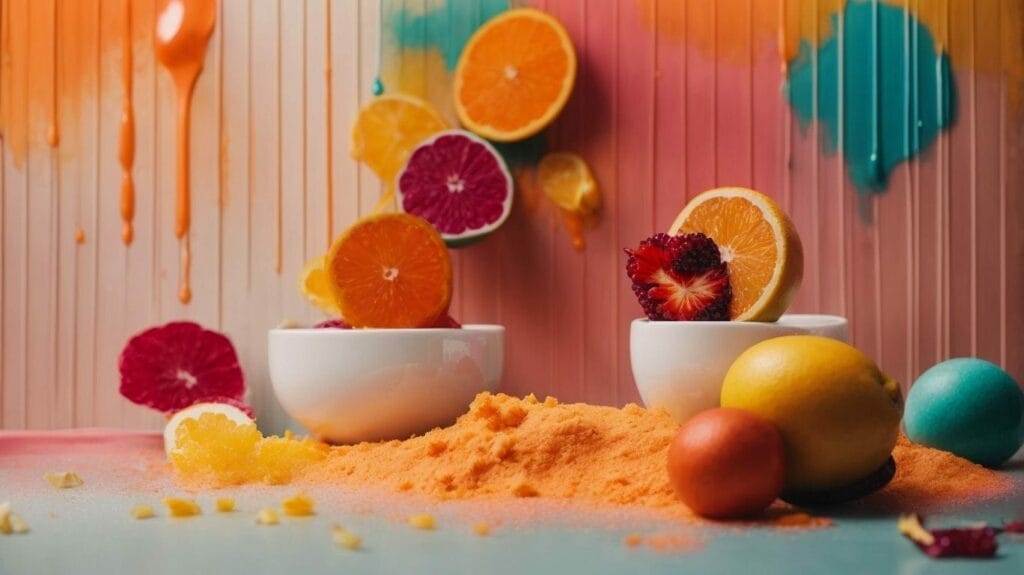
Photo Credits: Loststorystudios.Com by John Carter
Discover the secrets to creating stunning backgrounds with our expert tips and techniques. From choosing the perfect colors to mastering layering and blending techniques, we’ll show you how to add depth and dimension to your artwork. Get ready to take your coloring to the next level as we explore creating captivating textures and patterns. Unleash your creativity and transform your backgrounds into vibrant works of art with our easy-to-follow tips. Let’s dive in and elevate your coloring skills!
Choosing the Right Colors
When choosing the right colors for your backgrounds, there are a few factors to consider that can help you create visually appealing artwork. Here are some tips to guide you:
- Choosing the overall mood or theme of your artwork is crucial. Different colors evoke different emotions, so selecting colors that align with the desired atmosphere is important.
- Ensuring color harmony and contrast is essential. Choose colors that complement each other or create interesting visual effects.
- Looking for inspiration from nature or other artworks can be beneficial. Seek out color combinations that you find visually pleasing to assist you in making decisions.
- Experimenting with various shades, tones, and intensities of colors can add depth and dimension to your backgrounds.
- Considering the medium you’re working with is important. Remember that some colors may appear differently depending on whether you use traditional media or digital tools.
Choosing the right colors for your backgrounds involves a mix of personal preference, artistic intuition, and experimentation. By understanding the principles of color theory and exploring different options, you can enhance the visual impact of your artwork.
Similarly, understanding the historical significance of color choices in art can provide valuable insights. For example, during the Renaissance, artists often used vibrant colors like red and gold to symbolize wealth, power, and religious devotion. By studying the historical context and symbolism associated with different colors, artists gain a deeper appreciation for the impact color choices can have on their artwork.
Layering and Blending Colors
Layering and blending colors is crucial in creating beautiful and dynamic backgrounds. Here are the steps to master this technique:
- Start with a base color and apply it evenly across the background.
- Add a second color on top of the base color, using a brush or sponge to blend the two colors gently.
- Repeat the process with additional colors, gradually building and blending layers for a smooth transition.
- Experiment with different blending techniques, such as dry brushing or wet-on-wet, to achieve different effects.
- Use various tools, such as brushes, sponges, or even your fingers, to apply and blend the colors.
- Take time and patience; layering and blending colors requires practice to achieve the desired result.
A famous artist once shared how layering and blending colors transformed their artwork. By carefully layering different shades and blending them seamlessly, their background came to life, adding depth and dimension to the entire painting. It was a technique that took time to master, but the result was a breathtaking work of art that captivated audiences and showcased the artist’s talent in layering and blending colors.
Creating Texture and Patterns
Creating texture and patterns in your background can add depth and visual interest to your artwork. Here are some steps to help you achieve this:
- Start with a base layer: Apply a solid color as a base for your background.
- Add texture: Use techniques like splattering, dabbing, or sponging to create texture. Experiment with different tools and mediums to achieve the desired effect.
- Create patterns: Incorporate patterns using stencils, stamps, or freehand drawings. Consider the theme and style of your artwork when choosing patterns.
- Layer colors: Build up layers of different colors to create depth and dimension. Blend and mix colors to achieve a smooth transition.
- Embrace imperfections: Don’t be afraid to embrace imperfections and happy accidents. They can add uniqueness and character to your background.
True story: I once experimented with creating texture and patterns in a watercolor background by sprinkling salt on wet paint. As the paint dried, the salt absorbed moisture, leaving a fascinating textured pattern behind. It added a whole new dimension to my artwork and inspired me to continue exploring different techniques for creating texture and patterns.
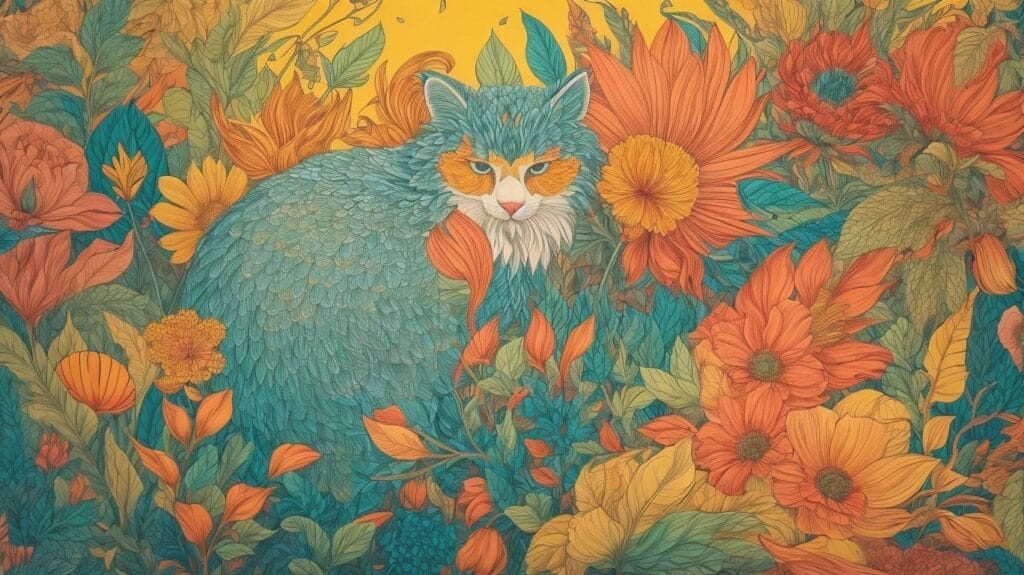
Step-by-Step Coloring Background Tutorials
Photo Credits: Loststorystudios.Com by Thomas Taylor
Get ready to dive into the world of coloring backgrounds with our step-by-step tutorials. We’ve got you covered with various techniques for watercolor, acrylic, colored pencil, and digital backgrounds. Whether you’re a beginner or a seasoned artist, these tutorials will help you create stunning and vibrant backdrops for your artwork. Say goodbye to plain and boring backgrounds as we unleash the power of colors and guide you through each exciting sub-section. Let’s bring your artwork to life with captivating colored backgrounds!
Watercolor Background
A watercolor background is a technique that utilizes watercolor paints to establish a vibrant and fluid backdrop for artistic creations. This method enables the seamless blending of colors and the formation of captivating washes and textures. To achieve a watercolor background, adhere to the following steps:
1. Enclose high-quality watercolor paper in clean water, employing a wide brush.
2. Moisten the paper with clean water using a wide brush.
3. Apply watercolor paints onto the dampened surface, employing random or controlled patterns.
4. Experiment with techniques such as wet-on-wet, wet-on-dry, or lifting color to attain the desired artistic effects.
5. Ensure the paper is dry completely before proceeding with further artwork.
By incorporating the watercolor background technique, artists can infuse their creations with depth and intrigue, resulting in visually captivating compositions.
Acrylic Background
Creating an acrylic background requires some key techniques and materials. Here are some steps to consider when working with acrylic paint for backgrounds:
- Prepare your surface: Ensure that your surface is clean and primed with gesso to provide a smooth base for the paint.
- Choose your colors: Select a color palette that complements your artwork and creates the desired mood or atmosphere.
- Layer and blend: Apply multiple layers of acrylic paint, allowing each layer to dry before adding the next. Use brushes, sponges, or palette knives to blend and create texture.
- Add texture and patterns: Experiment with tools like stencil brushes, sponges, or even bubble wrap to create interesting textures or patterns on your acrylic background.
- Experiment and have fun: Acrylic paint is versatile, so don’t be afraid to explore different techniques and approaches to create unique and dynamic acrylic backgrounds.
Colored Pencil Background
Creating a colored pencil background can greatly enhance the depth and dimension of your artwork. Here are some valuable tips to consider when working on a colored pencil background:
- Please choose the right paper: Selecting a paper with a smooth surface is essential as it allows for effortless blending and layering of colors to achieve the desired effect.
- Plan your color palette: Before starting, deciding on the specific colors you want to incorporate into the background is important. Consider how these colors will complement the overall subject of your artwork.
- Layer and blend: Gradually build up layers of color, applying light pressure initially and then gradually increasing it to create depth and saturation. Blend the colors seamlessly using a blending stump or a colorless blender pencil.
- Create texture: Experiment with techniques like cross-hatching or stippling to introduce fascinating textures and add more visual interest to your background.
- Consider contrast: To make your subject stand out, strategically use light and dark values in the background to create a strong contrast. This will help draw attention to the main focal point of your artwork.
By following these effective tips, you can effortlessly create a visually stunning colored pencil background that significantly enhances the overall appeal of your artwork.
Digital Background
To create a digital background, follow these steps:
- Choose the right software, such as Adobe Photoshop or Procreate, for creating your digital background.
- Begin with a blank canvas and select the desired background color or pattern.
- Utilize various digital brushes and tools to add texture and depth to your digital background.
- Experiment with different blending modes and layering techniques to achieve your desired effects.
- Incorporate elements and details like gradients or overlays to enhance your digital background.
- Consider applying digital filters or effects further to enhance the overall visual appeal of your background.
- Save the final version of your digital background as a high-resolution image file for your art projects.
Remember to practice and explore different styles and techniques to develop your skills in creating captivating digital backgrounds.
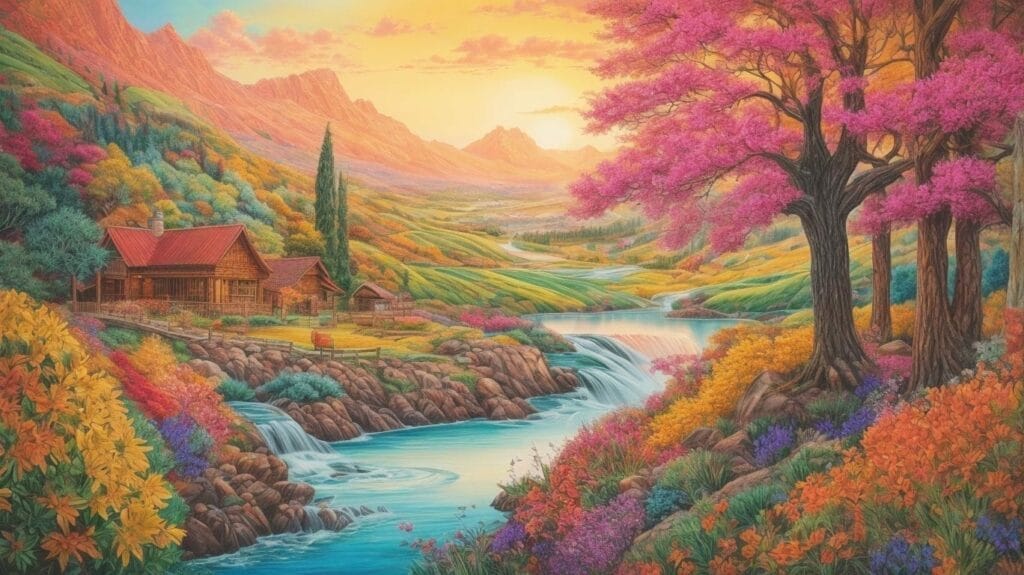
Troubleshooting Common Issues in Coloring Backgrounds

Photo Credits: Loststorystudios.Com by Nicholas Lewis
Are you struggling with coloring backgrounds? This section will address common issues many artists face regarding coloring backgrounds. From color bleeding or smudging to uneven color distribution and the difficulty of achieving desired effects, we’ll explore practical solutions to these challenges. Get ready to troubleshoot and elevate your background coloring skills to the next level!
Colors Bleeding or Smudging
When coloring backgrounds, it is crucial to address the issue of color bleeding or smudging. Here are some essential tips to prevent these problems:
- Use quality materials: Invest in high-quality art supplies like markers or paints with excellent color retention and minimal bleeding.
- Choose the right paper: Utilize paper specifically designed for the coloring you are engaging in, such as bleed-proof paper for markers.
- Avoid over-saturation: Apply colors lightly and gradually build up layers to prevent the bleeding of colors into each other.
- Allow time to dry: Ensure each layer is completely dry before applying another layer to prevent smudging.
- Use barrier techniques: If necessary, employ masking tape or a resist medium to create boundaries and hinder the spreading of colors.
By adhering to these tips, you can guarantee that your background colors remain clean and vibrant without encountering any issues of color bleeding or smudging.
Uneven Color Distribution
Uneven color distribution can be frustrating when coloring backgrounds, but there are techniques to achieve a more balanced result. Here is a table outlining the steps to address this issue:
| 1. Use the right materials | Ensure you have high-quality and pigment-rich coloring tools. |
| 2. Apply even pressure | Press down consistently to distribute color evenly across the background. |
| 3. Layer and blend | Build color gradually, layering and blending shades to create a smooth and uniform effect. |
| 4. Practice with different techniques | Experiment with various techniques, such as dry brushing or wet-on-wet, to achieve more even color application. |
| 5. Work in small sections | Divide the background into smaller areas and focus on one section at a time to ensure consistent color distribution. |
These steps will help you overcome uneven color distribution and create beautifully balanced coloring backgrounds.
Difficulty in Achieving Desired Effects
Achieving the desired effects when coloring backgrounds can be challenging, but with practice and some tips, it is possible to overcome this difficulty in achieving desired effects.
1. Experiment with Different Techniques: Try various coloring techniques, such as layering, blending, and creating texture, to add depth and dimension to your backgrounds.
2. Use the Right Tools: Use high-quality art supplies suitable for the type of background you want to create. Different mediums, such as watercolors, acrylics, colored pencils, or digital tools, require different techniques and materials.
3. Learn from Others: Seek inspiration from other artists. Study and incorporate their techniques to improve your skills and achieve the desired effects.
4. Practice Patience: Coloring backgrounds takes time and patience. Take breaks if needed and come back with a fresh perspective to avoid frustration.
With perseverance and continuous practice, you can overcome the difficulty in achieving desired effects and create stunning backgrounds for your artwork.
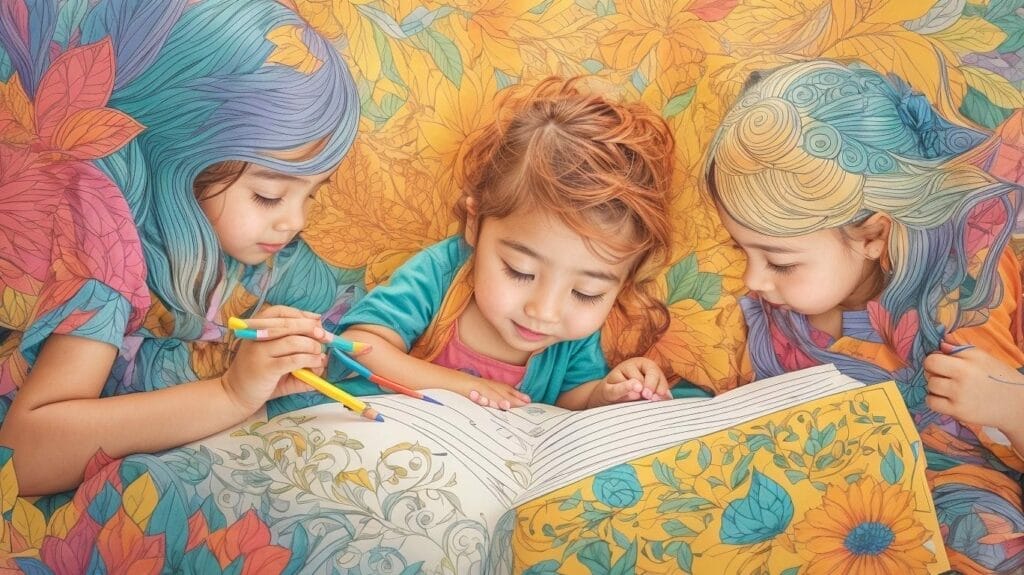
Taking Your Background Coloring Skills to the Next Level
Photo Credits: Loststorystudios.Com by Sean Wilson
Ready to take your background coloring skills to a whole new level? Discover the exciting possibilities awaiting you in the world of coloring backgrounds by experimenting with different art styles, incorporating them seamlessly into your art projects, and seeking inspiration from the innovative works of other talented artists. Prepare to embark on a colorful journey to transform your artistic creations and showcase your unique style. Get ready to push the boundaries and unleash your creativity like never before!
Experimenting with Different Art Styles
Art is a form of expression that knows no bounds. It’s a vast universe filled with endless possibilities and countless styles. One can never truly master art without dipping their brushes into the varied palettes of different art styles. Experimenting with different art styles enhances your skills and helps you discover your unique artistic voice.
The Allure of Variety
Experimentation is the playground of creativity. When you experiment with different art styles, you venture into the unknown. This journey can be exciting, daunting, and extremely rewarding. Breaking away from your comfort zone and dabbling in unfamiliar territories can provide fresh perspectives and stimulate your creative instincts.
Discovering Your Artistic Voice
You understand what resonates most with you by experimenting with different art styles. Is it the bold strokes of impressionism or the intricate details of realism? Perhaps it’s the abstract that speaks volumes to you, or maybe the vibrant colors of pop art catch your fancy. Whatever it is, experimenting allows you to find your artistic voice.
Broadening Your Skillset
Each art style has its unique techniques and principles. As you learn and adapt to these, your skillset expands. The ability to portray a single subject in various styles can be an invaluable asset for any artist. It increases your versatility and gives you an edge in the art world.
Embracing Change and Growth
In art, as in life, change is inevitable. You embrace this change by experimenting with different art styles and inviting growth. It’s a form of self-discovery where you learn more about your artistic preferences, strengths, and areas for improvement.
Incorporating Backgrounds into Your Art Projects
Incorporating backgrounds into your art projects can enhance the overall composition and make your artwork more visually appealing. Here are some ways to effectively incorporate backgrounds into your art projects:
- Choose complementary colors and textures that enhance the main subject of your artwork.
- To add depth and visual interest, experiment with different art styles for your backgrounds, such as abstract, landscapes, or patterns.
- Consider the theme or mood of your artwork and select a background that complements or contrasts with it.
- Use different mediums like watercolor, acrylic, colored pencils, or digital techniques to create unique and captivating backgrounds.
- Seek inspiration from other artists and observe how they incorporate backgrounds into their art projects.
By incorporating backgrounds into your art projects, you can create visually striking artwork that enhances the main subject and captivates the viewer.
Seeking Inspiration from Other Artists
Regarding coloring backgrounds, seeking inspiration from other artists is a natural and effective way to enhance your skills and nurture your creativity. By delving into various art styles and studying the techniques employed by fellow artists, you can expand your perspective and unearth fresh concepts for your backgrounds. Be on the lookout for inspiration in diverse forms, such as virtual galleries, art exhibitions, and popular social media platforms like Instagram or Pinterest. Take the time to analyze the captivating color schemes, enticing textures, and mesmerizing patterns other artists utilize, and experiment with incorporating them into your artistic endeavors. Remember, seeking inspiration from others is not about imitating but gathering and infusing ideas into your unique artistic style.
Pro-tip: Maintain a personal collection of awe-inspiring artworks or captivating photographs that speak to you. Whenever you find yourself stuck or lacking inspiration, revisit this collection and allow it to ignite and fuel your imaginative talents.
Some Facts About Coloring Backgrounds Tutorials:
- ✅ Coloring backgrounds can enhance a picture’s depth, interest, and color.
- ✅ various media can create backgrounds, including colored pencils, pastels, chalk, markers, and even eye shadow.
- ✅ Blending techniques, such as using blending pencils or tools like Vaseline or baby oil, can create smooth transitions in the background.
- ✅ Video tutorials and demonstrations are available on platforms like YouTube to learn different techniques for coloring backgrounds.
- ✅ Adding a background to a picture can make the colors stand out, add interest, provide depth and context, and allow personal creativity.