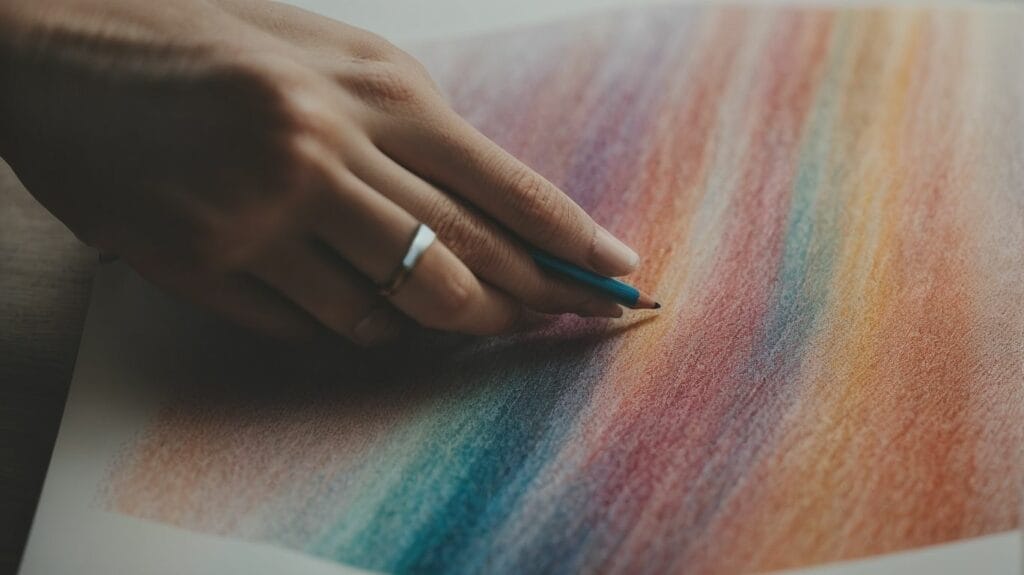
Creating textures with colored pencils is a captivating and versatile art form that allows artists to bring depth and dimension to their drawings. In this comprehensive guide, we will explore the fundamental techniques and advanced methods for adding realistic textures to artwork using colored pencils.
From understanding the basics of texturing and selecting the right materials to mastering layering, blending, and shading techniques, this article will equip you with the knowledge and skills needed to create stunning textured drawings.
Whether you are interested in replicating wood grain, fur, fabric, or natural elements, we will delve into specific textures and provide insights on how to add depth and dimension to your colored pencil art. We will discuss how to protect and preserve your textured masterpieces.
Get ready to elevate your colored pencil artwork to a new level as we embark on an exciting journey into the world of creating textures with colored pencils.
Key Takeaways:
Introduction to Creating Textures with Colored Pencils
Creating textures with colored pencils is an art form that allows artists to infuse depth and realism into their drawings through intricate patterns and tactile sensations. This process requires a keen understanding of textures, techniques, and the interplay of colors to achieve lifelike results.One popular method among artists is the utilization of Prismacolor pencils for their exceptional blending capabilities and vibrant pigments, which add a heightened level of detail to the textured surfaces.
Incorporating UV mapping techniques can further elevate the realism, as it helps to apply the textured patterns seamlessly onto 3D models, enhancing the overall visual appeal of the artwork.
Understanding the interaction of light and shadow on different surfaces is crucial for creating convincing textures, making it essential to comprehend the effects of light on varied materials.
Understanding the Basics of Colored Pencil Texturing
The basics of colored pencil texturing encompass foundational principles such as stroke direction, pressure variation, and color blending, enabling artists to create diverse textures that elevate the visual appeal of their artwork.Understanding different stroke techniques forms the backbone of creating engaging textures with colored pencils. Artists often experiment with hatching, cross-hatching, stippling, and scumbling to impart depth and dimension to their illustrations. Mastering the art of blending colors opens up a realm of possibilities, allowing for seamless transitions and harmonious gradients that contribute to the overall tactile quality of the artwork.
Materials Required for Creating Textures
The materials essential for creating textures with colored pencils include high-quality Prismacolor pencils, blending solutions like Gamsol, and precision tools like the Afmat pencil sharpener, enabling artists to achieve intricate textures under the guidance of an art instructor.When embarking on the journey of texture creation using colored pencils, it’s vital to have the right materials at hand to bring your artistic vision to life. With Prismacolor pencils, artists can access a wide spectrum of colors and a smooth, creamy texture that allows for effortless application.
Gamsol, a popular blending solution among art instructors, facilitates seamless color transitions and enhances the depth and dimension of textures. By using this solvent, artists can expertly manipulate the colored pencil pigments to achieve stunning textural effects.
The importance of a reliable tool like the Afmat pencil sharpener cannot be overstated. Its precision sharpening capabilities ensure that artists always have a fine point for detailed work, a crucial aspect of texture creation guided by art instructors.
Basic Techniques for Adding Texture with Colored Pencils
Basic techniques for adding texture with colored pencils involve strategic layering, controlled use of lines, and the application of pressure variations, allowing artists to imbue their drawings with captivating tactile elements and visual interest while following the guidance of an art instructor.Regarding layering, start with light pressure and gradually build up the colors by adding layers. This technique creates depth and richness in the texture.
Additionally, line control is crucial in creating intricate textures. Varying the thickness, length, and direction of lines can convey different surfaces and patterns.
Mastering pressure application is essential. Experiment with light and heavy pressure to achieve softer or more intense textures, adding dimension and realism to your artwork.
By practicing these techniques under the guidance of an art instructor, artists can enhance their skills and elevate the quality of their colored pencil textures.
Advanced Techniques for Realistic Textures
Advanced techniques for creating realistic textures with colored pencils encompass the integration of digital tools such as Blender for texture mapping and UV unwrapping, enabling artists to elevate their artwork to new heights of realism under the guidance of experts like Queen Drawing and resources from leehammond.net.
Blender, a powerful 3D creation suite, offers a wide array of features that can lend a lifelike quality to textures. Through efficient UV mapping, artists are able to ‘unwrap’ their 3D models and apply 2D textures with precision. A deep dive into relevant tutorials on platforms like YouTube, courtesy of seasoned professionals, can demystify the complexities of UV unwrapping and smooth out any rough edges in texture application.
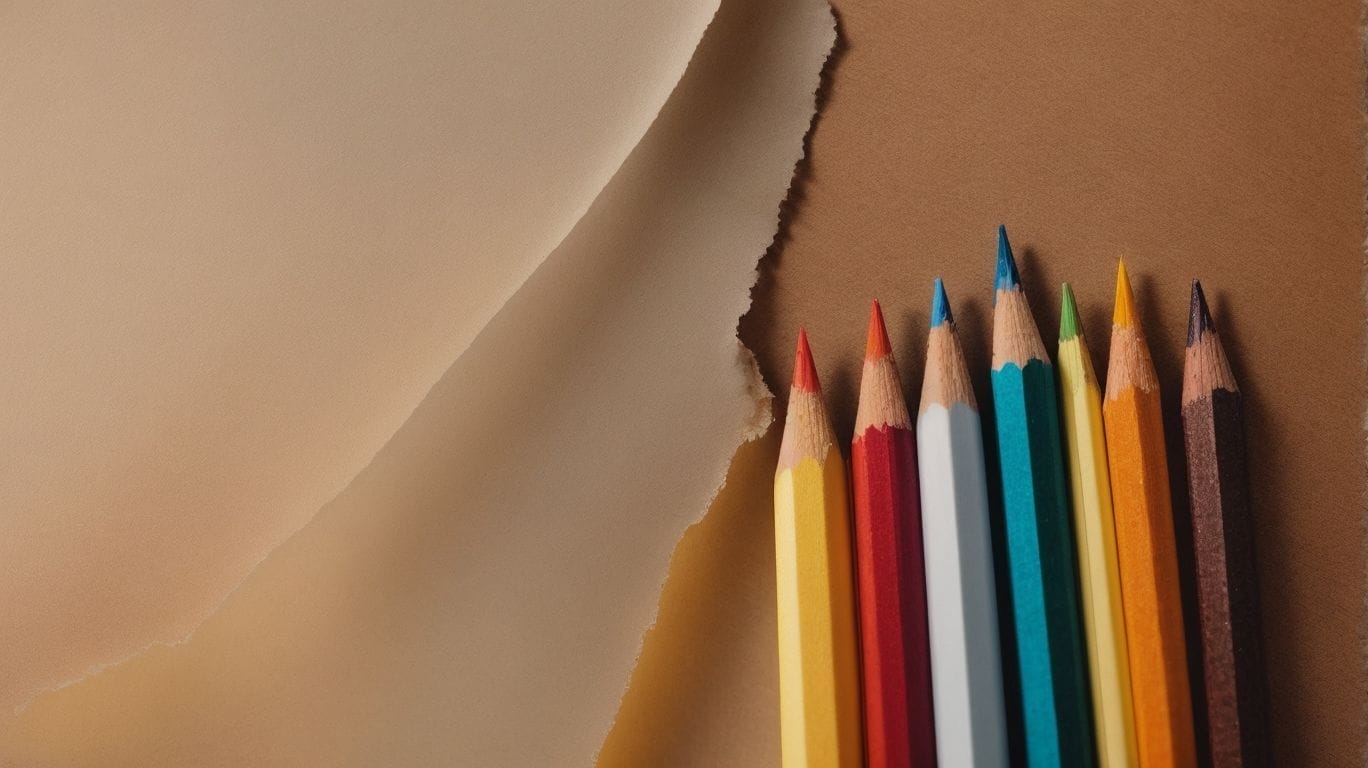
Choosing the Right Paper for Colored Pencil Texturing
Selecting the appropriate paper for colored pencil texturing is crucial, as it directly influences the texture’s depth, blending capabilities, and overall visual impact of the artwork. Artists often opt for specific paper textures that complement the nuances of Prismacolor pencils and enhance the intricacy of their creations.
When deciding on the paper type, one must consider the texture variations available, such as smooth, medium, or rough surfaces, each offering distinct characteristics to interact with the colored pencil strokes. The chosen paper’s ability to hold multiple layers of Prismacolor color is also paramount, as it affects the richness and saturation of the hues.
The blending characteristics of the paper play a vital role in achieving seamless transitions between colors, ultimately contributing to the overall harmony of the artwork.
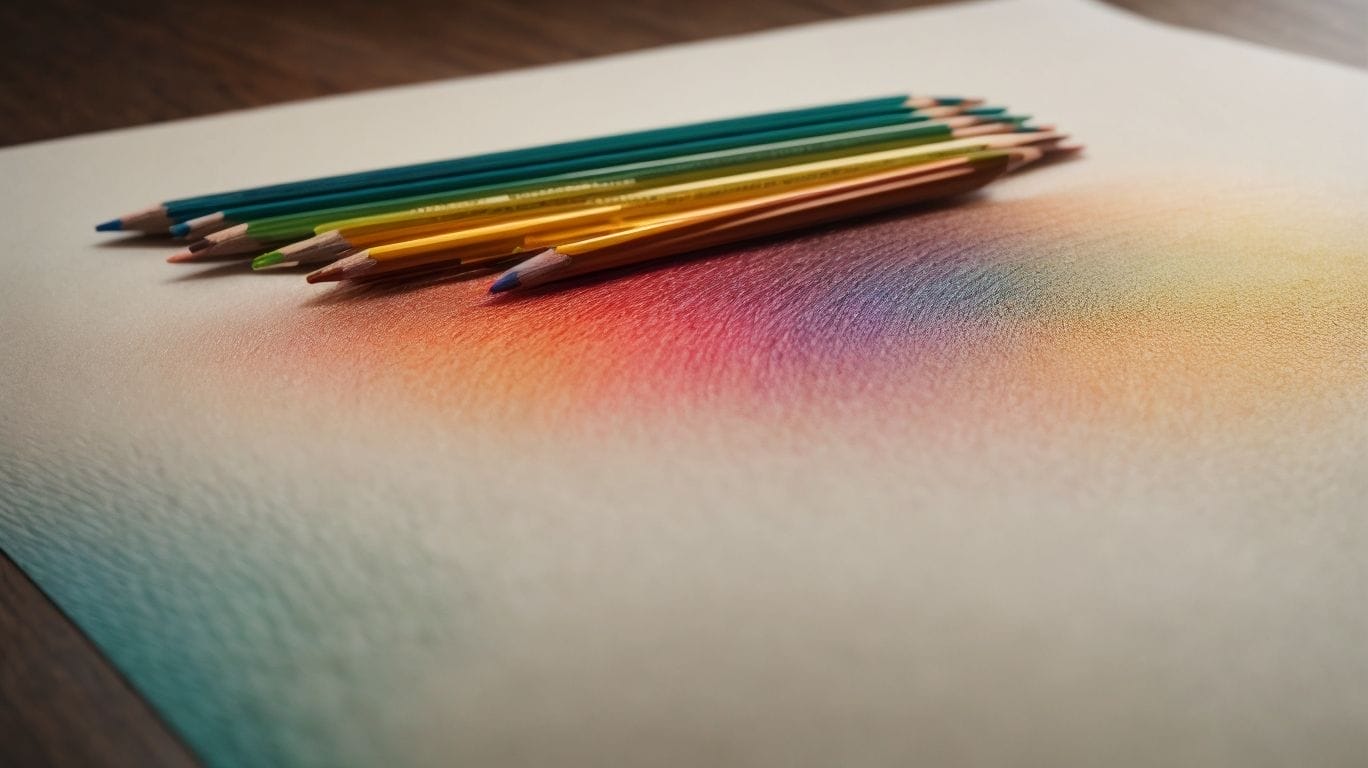
Layering and Blending Techniques for Textures
Credits: Loststorystudios.Com – Joe Robinson
Layering and blending techniques form the cornerstone of textured drawings with colored pencils, allowing artists to gradually build depth, refine details, and achieve rich color transitions over time, akin to the layering process in acrylic painting.When employing layering and blending techniques, artists utilize Prismacolor pencils to create intricate textures and seamless color transitions. This method involves patient investment of time as each layer contributes to the overall depth and vibrancy of the artwork.
Analogous to the layering process in acrylic painting, where each layer adds complexity and richness, the gradual buildup in colored pencil drawings results in breathtaking levels of detail and visual impact.
Understanding Color Theory for Texturing
Understanding color theory is paramount for mastering texture creation with colored pencils, as it give the power tos artists to skillfully blend hues, create harmonious palettes, and evoke realistic textures that captivate the viewer’s eye, leveraging the versatility of Prismacolor pencils.Color blending techniques play a pivotal role in replicating diverse textures, such as the softness of petals, the roughness of tree bark, or the sheen of water. By comprehending the principles of complementary, analogous, and triadic color schemes, artists can achieve palette harmony, infusing their work with visual depth and vibrancy.
Utilizing Prismacolor pencils enhances the potential for achieving intricate details and subtle shading, enabling artists to convey the lifelike quality of various textures, from the delicate weave of fabric to the intricate patterns of foliage.
Blending Methods for Smooth and Textured Effects
Blending methods serve as pivotal tools for artists to achieve both smooth transitions and textured effects in their colored pencil drawings, enabling them to employ techniques akin to UV mapping and camera adjustments to evoke lifelike textures with the versatility of Prismacolor pencils.Whether it’s the classic circular motion, the meticulous layering technique, or the innovative use of solvents, artists have a plethora of options to choose from when it comes to blending their colored pencil drawings. Each method offers a unique way to create seamless transitions between colors and textures, adding depth and dimension to the artwork. Some artists prefer to experiment with different pressures and strokes to achieve the desired tactile details, while others may utilize specialized tools like blending stumps and tortillons to refine their blending process.
When exploring the parallels with digital art concepts, blending methods in traditional art can be compared to UV mapping, where the texture coordinates are manipulated to achieve realistic effects on 3D models. Just as artists adjust the pressure and direction of their pencil strokes, digital artists tweak the UV maps to control how the textures are applied to the surfaces of their models. Similarly, the concept of camera adjustments in digital art, such as aperture and focal length, aligns with an artist’s understanding of light and perspective in colored pencil blending. By drawing these connections, artists can gain a deeper understanding of blending techniques and digital art tools, broadening their creative horizons.
Creating Specific Textures with Colored Pencils
Credits: Loststorystudios.Com – Kenneth Ramirez
Creating specific textures with colored pencils allows artists to capture the intricate details of wildlife and nature, from the velvety softness of fur to the delicate patterns of feathers and the rugged complexity of bark, using the versatile capabilities of Prismacolor pencils.When approaching wildlife and nature drawings, it’s essential to understand the unique textures that characterize different elements. For fur, layers of color blend to mimic the depth and softness of the animal’s coat. Utilizing a variety of pencil strokes and techniques helps replicate the varying textures of feathers, portraying their intricacies with precision and detail.
For bark, the coarse, rough nature of tree surfaces requires a different approach. Prismacolor pencils offer the flexibility and richness needed to convey the ruggedness and complexity of bark, enabling artists to capture the essence of nature’s intricate designs on paper.
Wood Grain and Bark Textures
Wood grain and bark textures offer artists the opportunity to depict the organic intricacies of nature, from the rugged, weathered patterns of bark to the fine, intricate details of wood grain, enriching their artwork with a captivating portrayal of the natural world.
Artists often use the subtle variations in the direction, size, and color of wood grain to create depth and dimension in their wildlife pieces. Bark textures, with their rough, uneven surfaces, provide a sense of history and endurance, adding character to the subjects portrayed in the artwork. By carefully studying these natural textures, artists can authentically capture the essence and spirit of the wildlife they seek to portray, thereby connecting viewers with the innate beauty and complexity of the natural world.
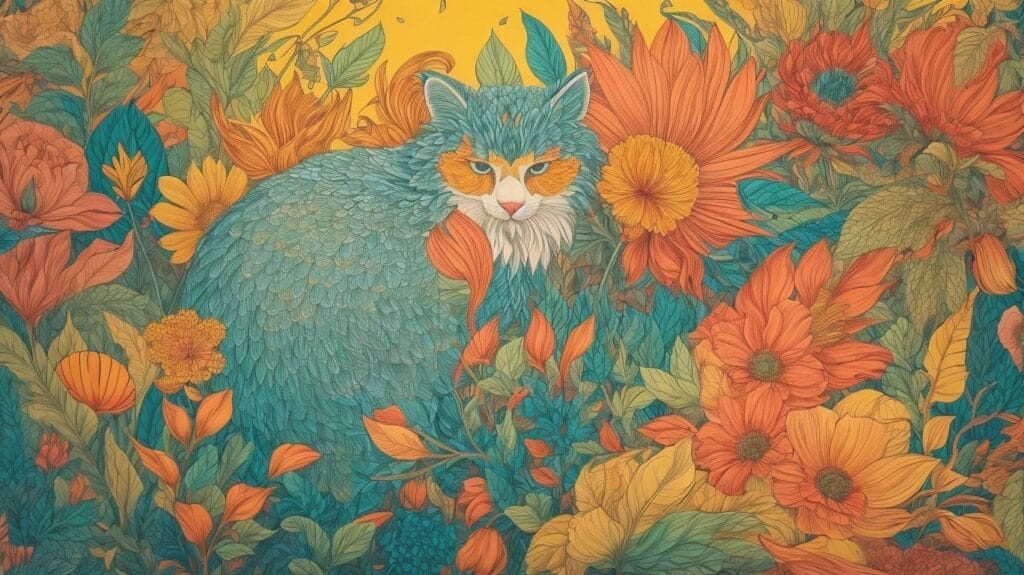
Fur and Hair Textures
Fur and hair textures represent a captivating aspect of wildlife art, enabling artists to depict the lush softness of fur, the dynamic flow of hair, and the intricate details of wildlife coats through the expressive potential of Prismacolor pencils.
When capturing the textures of wild animals, artists focus on the subtle shifts in color and the interplay of light and shadow to bring out the depth and dimension of fur and hair. Whether it’s the velvety fur of a fox, the sleek sheen of a big cat’s coat, or the untamed waves of wild horse mane, the versatility of Prismacolor pencils allows for layering and blending to achieve a realistic portrayal with striking softness and natural flow.
Fabric and Clothing Textures
Fabric and clothing textures offer artists a canvas to convey the tactile sensations and visual intricacies of textiles, from the delicate folds of fabric to the intricate patterns of clothing, enriching their artwork with diverse textures that evoke a sense of depth and realism.
When capturing the grain of a fabric or the intricate weave of a garment, artists employ various techniques inherent to colored pencil drawing. Layering colors, careful blending, and using different pressure on the pencil all play a crucial role in mirroring the softness of silk or the texture of denim in their creations. These intricate details not only please the eye but also stimulate the viewer’s tactile sense, creating a deeper connection with the artwork.
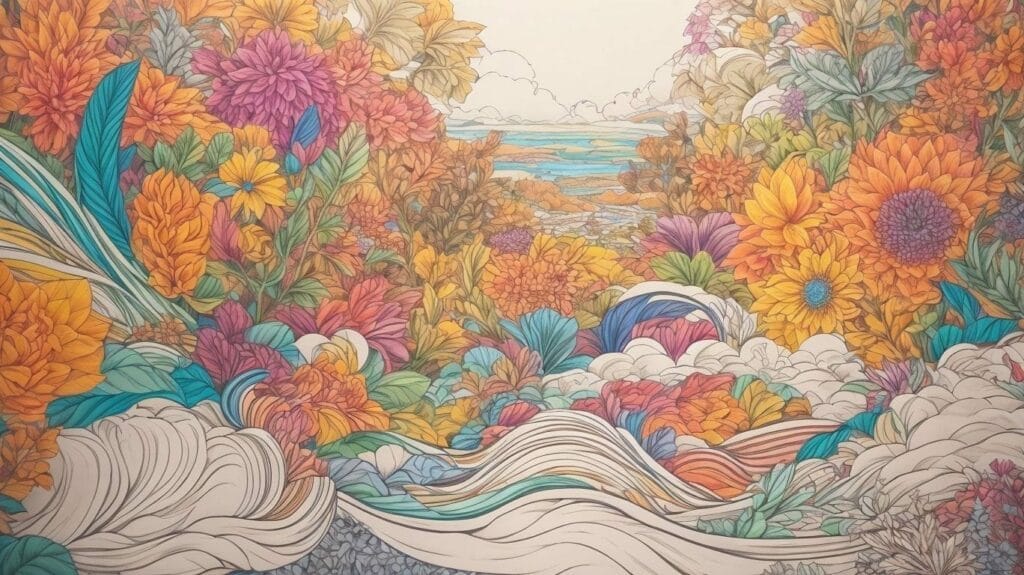
Nature and Environmental Textures
Nature and environmental textures provide artists with the opportunity to portray the diverse elements of the natural world, from the lush vibrancy of foliage to the intricate details of wildlife habitats, enabling them to capture the immersive essence of nature through expressive rendering with Prismacolor pencils.
The richness of the Prismacolor pencils allows for the layering of colors to emulate the complexity of nature’s hues, whether it’s the gradient of a sunset sky or the variegated tones of a forest canopy. Artists can skillfully blend and build up textures, from the supple softness of petals to the rough, gnarled bark of ancient trees, adding depth and dimension to their representations.
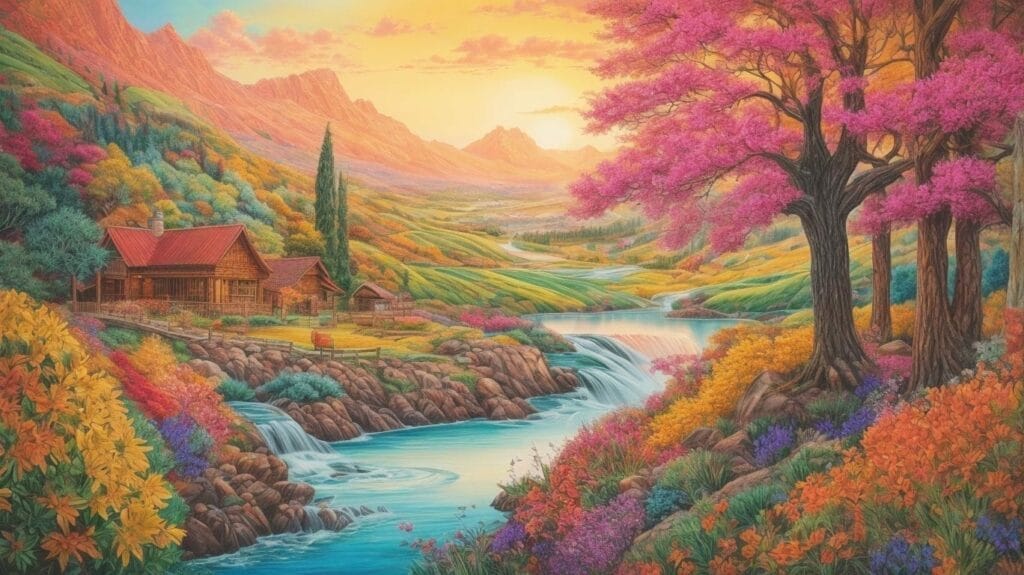
Adding Depth and Dimension to Textured Drawings
Adding depth and dimension to textured drawings is a multifaceted process that involves the strategic application of shading techniques, the nuanced interplay of highlights and shadows, and the skillful incorporation of Prismacolor pencils to infuse lifelike qualities into the artwork.Layering different shades with Prismacolor pencils can create a sense of depth, as you build up the colors to craft a three-dimensional effect. Experimenting with varied pressures and pencil strokes allows for a seamless transition between gradual gradients, producing a more realistic and captivating result. Keep in mind the direction and intensity of light sources, as this will influence where shadows and highlights are positioned, further enhancing the illusion of depth.
Utilizing blending tools such as smudge sticks or blending stumps can help smooth out rough transitions between different shades, creating a cohesive and polished look. Incorporating different textures, such as fur or fabric, requires a careful understanding of how shadows fall and highlights glint. By mastering the intricate interplay of light and dark, you can breathe life and dimension into your textured drawings, captivating the viewer with their realistic and immersive qualities.
Shading Techniques for Realistic Textures
Shading techniques play a pivotal role in evoking realistic textures, enabling artists to imbue their drawings with depth and dimension, capturing the nuanced interplay of light and shadow that breathes life into their wildlife creations with the expressive potential of Prismacolor pencils.By deftly manipulating gradation and layering with Prismacolor pencils, artists can render fur, feathers, scales, and textures found in the natural world with remarkable accuracy, allowing them to portray the visual intricacies of wildlife such as the iridescent plumage of a hummingbird, the velvety softness of a deer’s coat, or the rugged bark of an ancient oak tree.
This attention to shading not only brings out the beauty and lifelikeness of the subjects but also conveys the mood and ambience of their natural habitats, enhancing the overall narrative of the artwork.
Highlights and Shadows to Enhance Texture
Highlights and shadows serve as integral elements in enhancing texture, enabling artists to infuse vitality and depth into their wildlife drawings through the strategic interplay of light and shadow, harnessing the expressive potential of Prismacolor pencils to evoke lifelike qualities.By masterfully utilizing highlights and shadows in their artwork, artists can capture the intricate textures of fur, feathers, and scales, bringing a sense of realism to their wildlife illustrations. The careful application of Prismacolor pencils allows for the blending of tones and the creation of subtle gradations, resulting in a stunning portrayal of light and shadow in the natural world.
Final Touches and Finishing Techniques
The final touches and finishing techniques are crucial stages that involve the meticulous preservation and protection of textured colored pencil art, ensuring its longevity and visual integrity while showcasing the expressive potential of Prismacolor pencils.These final stages play a pivotal role in the overall presentation and conservation of colored pencil artwork. By carefully applying protective varnishes or fixatives, artists safeguard their creations from environmental elements and prevent smudging or fading over time. Skilled use of blending and burnishing techniques adds depth and dimension to the artwork, accentuating the vibrant pigments of Prismacolor pencils. Such attention to detail not only enhances the emotive quality of the piece but also ensures that the artist’s original vision is preserved for generations to come.
Protecting and Preserving Textured Colored Pencil Art
Protecting and preserving textured colored pencil art is vital for maintaining its visual allure and longevity, requiring artists to employ specialized methods under the guidance of an art instructor to safeguard the intricacies of their creations and showcase the expressive potential of Prismacolor pencils.
Regarding preserving colored pencil art, artists need to understand the significance of using archival-quality materials, such as acid-free paper and lightfast pencils, to ensure that their artwork stands the test of time. Learning the proper techniques for framing and displaying their creations is crucial in protecting them from environmental factors, such as UV light and humidity.
An art instructor’s expertise in these preservation methods can provide invaluable knowledge that enhances an artist’s ability to protect and care for their textured colored pencil art.
Frequently Asked Questions
What are some common textures that can be created with colored pencils?
Some common textures that can be created with colored pencils include wood grain, grass, fur, water, and fabric.
What types of colored pencils are best for creating textures?
Wax-based colored pencils are generally preferred for creating textures, as they allow for easier blending and layering of colors. Some popular brands include Prismacolor, Faber-Castell, and Derwent.
How can I make my colored pencil textures look more realistic?
To make your colored pencil textures look more realistic, try using a variety of colors and layering them to build up depth and dimension. You can also use different pressure techniques, such as stippling or cross-hatching, to create texture and variation in your application of color.
Can I use colored pencils on different types of paper to create textures?
Yes, you can use colored pencils on a variety of surfaces to create textures. Some options include rough watercolor paper for a more textured effect, smooth bristol board for finer details, or even sanded pastel paper for a more gritty texture.
What are some tips for creating realistic wood grain textures with colored pencils?
To create realistic wood grain textures with colored pencils, start by layering different shades of brown and using a sharp pencil to draw thin lines in the direction of the wood grain. You can then add darker lines for shadows and highlights for depth and dimension.
Can I combine other mediums with colored pencils to create textures?
Yes, you can combine other mediums such as watercolor, ink, or even acrylic paint with colored pencils to create unique and interesting textures. Experiment with different combinations to find the best techniques for your desired effect.